Agile Seagul - Partie IA⚓
Once the drone must be equipped with autonomous flight capability for object detection, this part includes the following devices:
- 1 event-based camera: IniVation DVXplorer Mini DXM00095
- 1 Hailo AI accelerator: Raspberry Pi M.2 HAT+
The tasks include:
- Using the pre-trained model with the available images
- Migrating from CPU to Hailo
- Integrating the event-based camera
- Comparison between Hailo and CPU
Using the pre-trained models with the available images⚓
Lola YOLO⚓
Low-Latency YOLO (Lola YOLO) repository here.
This model was trained with event-based images and includes 3 classes (pedestrians, car, bicycle).
First, clone the repository on your local machine that has access to the Raspberry Pi. Then, run the following command for an initial test of the model using event-based images, which can be retrieved from the img folder.
1 2 3 | |
YOLOv8⚓
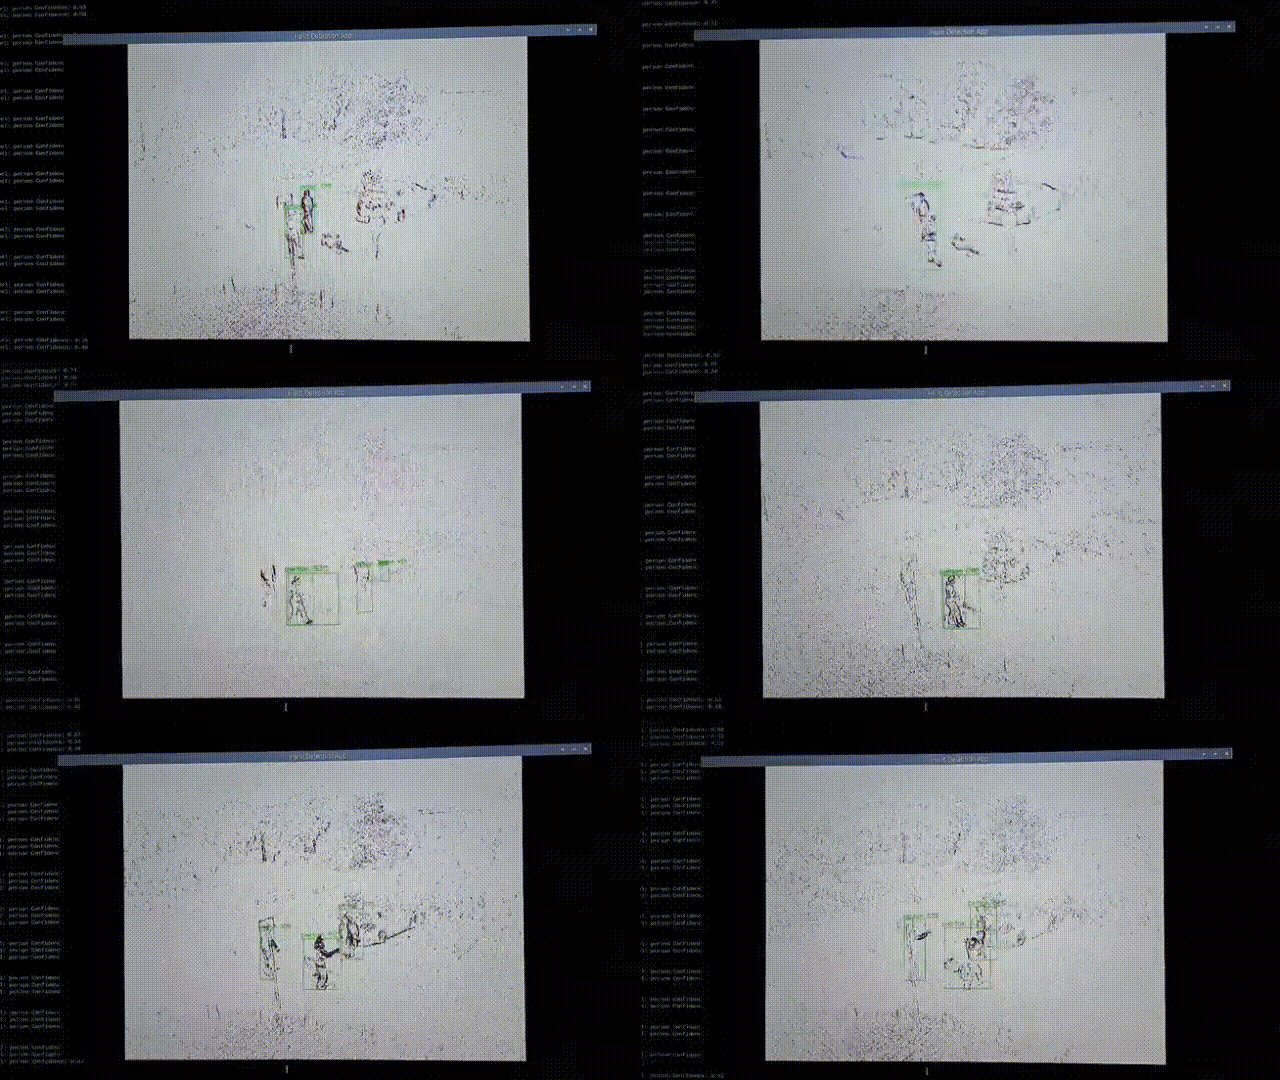
The Hailo-AI git repository explores the application of some YOLO models on a Raspberry Pi 55. By default, it uses YOLOv8, as shown by the following hef-path parameter returned after running it. Although this model was trained on RGB images, it was used here solely for testing and performance comparison.
1 | |
1 | |
The screen capture below was taken from it.
Migrating from CPU to Hailo⚓
Conversion of the model⚓
First, it is important to note that running a YOLO model typically requires two main components:
- a
.pyfile, which contains the inference script and model architecture, and - a
.ptfile, which stores the trained weights.
To run the model on the Hailo accelerator, the weights must be converted into a Hailo-specific format called .hef. This conversion process involves several steps.
The model weights stored in the .pt file cannot be used directly on the Hailo accelerator, so the model must first be exported to ONNX, a framework-agnostic format (i.e., independent of deep learning frameworks such as PyTorch, TensorFlow, or Keras) that represents the neural network as a static computation graph.
The model architecture can be visualized using tools such as Netron by importing the ONNX file.
This ONNX model is then converted into a Hailo Archive (.har) and finally compiled into a Hailo Executable File (.hef) that can run on the Hailo device.
PT  ONNX HAR HEF
In our case, we already had the ONNX file.
The last part was carried out using the Hailo Model Zoo, a tool developed by the Hailo team itself. It can be downloaded from their website and requires an account.
After installing, if you are using a standard YOLO model (e.g., YOLOv5, YOLOv8, etc.), you can run the following command obtained from a web tutorial to make the whole process directly.
1 2 3 4 5 6 | |
In our case, since the model uses a custom architecture and specific trained weights, it was not possible to rely on a default reference model. The following approach was therefore adopted.
First, the ONNX model was parsed using the Hailo parser to get the .har.
1 2 3 | |
The “start-node-names” and “end-node-names” parameters must be adapted to match your network. Tools such as Netron can help.
Next, create a .alls file, responsible for defining model-specific settings, such as input normalization. It should contain the following line:
1 | |
1 | |
1 | |
After this, the .hef file is generated and can be found on your machine. This file is the final binary, ready to be loaded and executed on the Hailo accelerator.
Hardware connection between the Raspberry and the Hailo⚓
Once the Hailo is added to the Raspberry it’s possible to verify the connection with it by running the following commands, according to the documentation.
1 | |
1 | |
Integrating the event-based camera⚓
First of all, connect the IniVation camera to the Raspberry and verify the USB connection.
1 | |
Result obtained:
1 | |
Then, by installing a specific library for the DV camera from its official website, it becomes possible to launch the camera on the Raspberry Pi and retrieve the images in real time.
1 | |
After that, different pipelines were created to retrieve images from the camera and run the models on them. All scenarios taken into account:
- Model: Lola YOLO vs. YOLOv8
- Processor: CPU vs. Hailo
- Image recovery mode: Visualizer colored with white, red and blue vs. Accumulator with a scale of gray
While the Accumulator integrates events over time to generate an image-like representation suitable for further processing, the EventVisualizer simply performs real-time color coding of event pixel locations for basic visualization.
For the visualizer, the polarity colors were set to: - background: white - positive: red - negative: blue
Like that, we obtain images closer to the dataset used to train Lola YOLO. However, since YOLOv8 wasn't trained with event camera, we also adapted the image to the gray scale, which led us to better results with this model.
The whole script to launch all the pipelines with the camera IniVation integrated is described below.
YOLOv8 with CPU
1 2 3 4 5 6 | |
To launch the model with the camera run:
1 | |
Lola YOLO with CPU
1 2 3 4 5 6 7 8 9 | |
Change some of the versions specified on requirements.
1 2 3 4 5 | |
Then install the requirements.
1 2 3 4 | |
To launch the model with the camera run:
1 | |
YOLOv8 with Hailo
1 2 3 4 5 6 | |
From Hailo's website download:
1 2 3 4 5 | |
To install these packages run:
1 2 3 4 5 6 7 8 9 10 11 | |
Next run this command to check if Hailo is detected.
1 | |
You should see the details of the Hailo identified, as follows.
1 2 3 4 5 6 7 8 9 10 | |
If the Hailo is not detected, try the following.
1 2 3 4 5 6 7 8 9 10 11 12 13 14 | |
Activate the env created by the installation and install the dv-processing.
1 2 3 4 | |
To launch the model with the camera run:
1 2 | |
Lola YOLO with Hailo
It consists of using the same script as YOLO with Hailo's one, it's only necessary to change the .hef file to the one related to Lola YOLO.
Comparison between Hailo and CPU⚓
The following analysis consider the use of the event-based camera.
YOLOv8 avec CPU:
- Time of execution with accumulator: around 0.65s.
- Time of execution with visualizer: around 0.56s.
YOLOv8 avec Hailo:
- Time of execution with accumulator: around 16.9 ms.
- Time of execution with visualizer: around 16.65 ms.
- At the beginning, there was a very large latency when acquiring and displaying images on the screen, and most of the time it crashed.
- After making changes on the time of recuperation des images (slicer.doEveryTimeInterval(timedelta(milliseconds=16)) et le temps du Hailo (framerate=16/1), this delay was reduced. Moreover, we set the number of buffers to 1 to avoid accumulating frames and running inference on outdated images. Even though this may result in dropping some frames, it ensures that inference is performed on frames that are as close as possible to the current moment. Besides that, by using accumulator.clear(), we establish a reset mechanism for frame accumulation. This ensures that frames are not carried over from one sequence to the next, preventing outdated data from being processed.
In both scenarios, the class "person" was detected more frequently when using the accumulator instead of the visualizer, which makes sense since the images become more similar to the training dataset.
The model confidence threshold was set above 40%.
Lola YOLO avec CPU:
- Time of execution around 700 ms.
- Even though the objects were dected and most of the labels were correct, the location of the bounding boxes in the image didn't cover the whole object.
Lola YOLO avec Hailo:
- Unfortunately, the model conversion was not successful. Even with the .hef file, detections were occurring across the entire image, which indicates that there were inconsistencies in the conversion process.